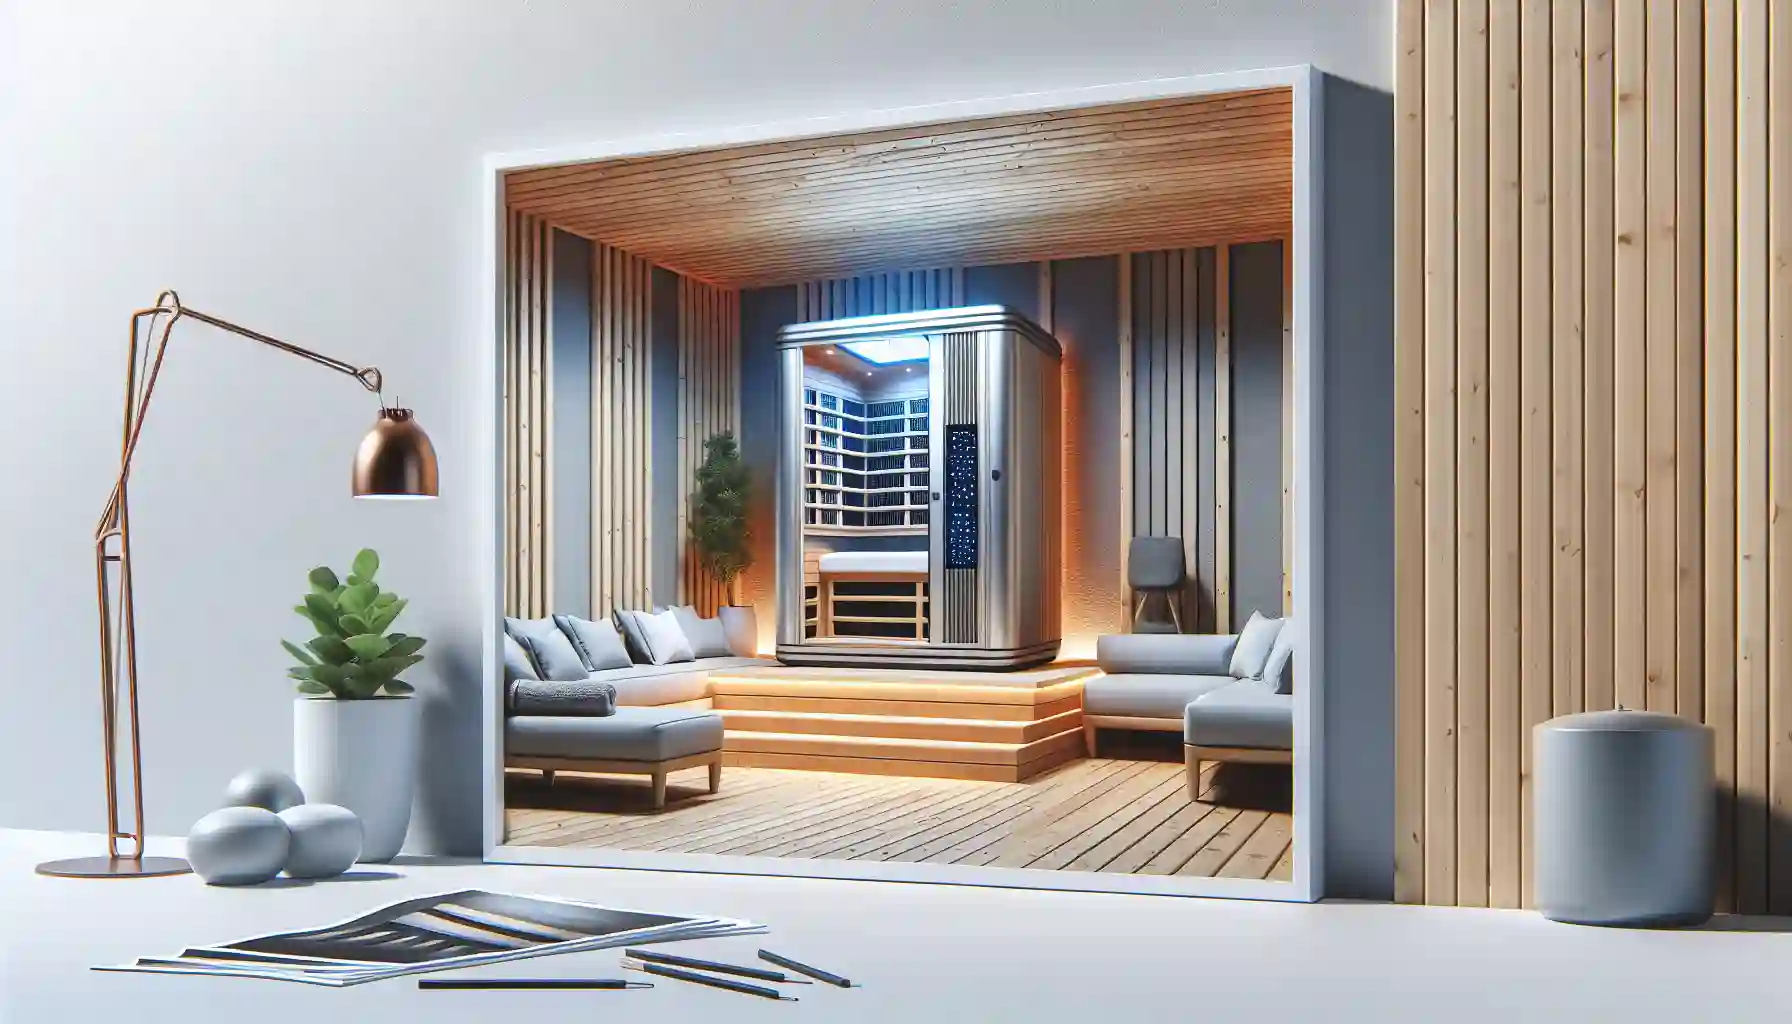
This guide will walk you through everything you need to know for a successful infrared sauna setup. We'll cover planning your space, understanding the electrical needs, ensuring proper ventilation, and assembling your unit like a pro. By the end, you'll have the confidence to tackle your project and be one step closer to your first blissful sweat session.
Planning Your Infrared Sauna Installation
The first step to a smooth infrared sauna installation is planning. A little forethought ensures your new sauna fits perfectly into your home and functions safely and efficiently.
Choosing the Perfect Location
Where will your wellness oasis live? infrared saunas are incredibly versatile and can be installed in many places, but each location has its own considerations.
Spare Room or Bedroom: This is a popular choice. It's climate-controlled, dry, and usually has easy access to electrical outlets. The main thing to check is that you have enough space for the sauna itself, plus clearance for assembly and door swing.
Basement: A basement can be a great spot, often offering ample space. The key here is to ensure the area is completely dry. Avoid placing your sauna in a damp corner, as persistent moisture can damage the wood over time. A dehumidifier can be a great companion for a basement sauna.
Garage: Garages provide plenty of room, but they are often unheated and uninsulated. While an infrared sauna will still work, it may take longer to heat up in a cold garage during winter, potentially increasing energy use. Ensure the floor is level and clean before you begin the infrared sauna setup.
Regardless of the room, always choose a spot with a flat, level surface. An uneven floor can cause the sauna panels to misalign and create gaps in the structure.
Measuring for Success: Clearance and Space
Before you even order your sauna, grab a tape measure. You need to account for three things:
The Sauna's Footprint: Check the manufacturer's specifications for the exact exterior dimensions (width, depth, and height).
Assembly Clearance: You'll need extra space around the sauna to move and fit the panels together. A good rule of thumb is to have at least a foot of open space on all sides during assembly.
Permanent Clearance: Once assembled, most infrared saunas require minimal clearance. However, leaving a couple of inches between the sauna walls and your home's walls allows for air circulation, which helps prevent heat buildup. Crucially, never cover the top of the sauna, especially if it has a roof-mounted ventilation system.
Electrical Requirements: Powering Your Sauna Safely
This is the most critical part of your infrared sauna installation. Getting the electrical setup right is non-negotiable for safety and performance. Infrared sauna wiring is typically simpler than traditional saunas, but it must be done correctly.
120V vs. 240V Circuits
Most one- or two-person infrared saunas are "plug-and-play" models designed to work with a standard 120-volt household outlet. However, it's essential that this is a dedicated circuit.
Dedicated Circuit: This means no other appliances or devices are drawing power from the same breaker. Your sauna needs all the power that circuit can provide. Sharing it can lead to tripped breakers or, in worse cases, an electrical hazard.
120V/15-Amp vs. 20-Amp: Check your sauna’s power requirements. Some may need a 20-amp circuit, which has a different-shaped outlet. A licensed electrician can easily install one if needed.
Larger saunas, typically for three or more people, often require a 240-volt circuit. This is the same type of circuit used for electric stoves or dryers and requires professional installation by a licensed electrician. Never attempt to wire a 240V circuit yourself unless you are qualified to do so.
The Role of a GFCI Outlet
A Ground Fault Circuit Interrupter (GFCI) is a safety device that quickly shuts off power if it detects an imbalance in the current, preventing electric shock. Building codes in many areas require GFCI outlets in potentially wet locations like basements, garages, and bathrooms.
While your sauna room should be dry, it's wise to follow local electrical codes. The U.S. Occupational Safety and Health Administration (OSHA) provides detailed guidance on where GFCIs are recommended for safety. You can check the OSHA guidelines for more on electrical safety practices. An electrician can advise if a GFCI is required for your specific installation.
When to Call a Licensed Electrician
Let's be clear: if you have any doubt, call a professional. Hire a licensed electrician if:
You need to install a new dedicated 120V or 240V circuit.
You're unsure if your existing outlet is on a dedicated circuit.
You need to upgrade a breaker or install a GFCI outlet.
Your home has old wiring (e.g., aluminum wiring).
The cost of an electrician is a small price for the peace of mind that your sauna electrical requirements are met safely.
Preparing the Room for Your Sauna
With the location and electrical sorted, a few final preparations will ensure a perfect infrared sauna setup.
Flooring Considerations
The best floor for an infrared sauna is a hard, flat, and waterproof surface. Good options include:
Tile
Concrete
Vinyl or Laminate
Avoid placing your sauna directly on carpet. Over time, the heat and any minimal moisture from sweat can create a breeding ground for mold and mildew underneath. If your chosen spot is carpeted, you can place a sheet of plywood or a hard floor mat under the sauna to create a stable, protective barrier.
Ventilation and Airflow
Unlike traditional saunas that produce lots of steam, infrared saunas operate with dry heat and require less ventilation. Most units have small, adjustable vents built into the roof or walls. These are sufficient to bring in fresh air and exhaust stale air.
The key is to ensure these vents are not blocked. As mentioned earlier, leave a few inches of space around the sauna and keep the area above it clear. Proper airflow ensures a comfortable breathing environment inside the sauna and helps the wood structure last longer.
The Assembly Process: Putting It All Together
Here comes the fun part! Most modern infrared saunas are designed for easy, two-person assembly. They often use a system of interlocking panels with latches or buckles, requiring minimal tools. Always follow the manufacturer's instruction manual to the letter.
Pre-Assembly Checklist
Before you start clicking panels together, do a quick inventory:
Unpack all boxes carefully and lay out the components.
Cross-reference the parts list in your manual with what you've received. Check for any damage that may have occurred during shipping.
Gather the necessary tools. Usually, all you need is a screwdriver or power drill.
Ensure your assembly area is clean and clear.
Step-by-Step Assembly Overview
While models vary, the general assembly sequence is quite similar for most infrared saunas:
Floor Panel: Place the floor panel in your final desired location. This is your foundation.
Wall Panels: Attach the back and side walls. They typically slot into the floor panel and connect to each other with clasps or magnetic latches.
Heater and Bench Installation: Secure the front wall, which includes the door. Then, install the bench supports and the bench itself. This is also when you'll connect the wiring for the heaters. The wiring is usually color-coded and uses simple plug-in connectors.
Roof Panel: Carefully place the roof panel on top and secure it. This is where having a second person is essential. Connect the final electrical components for the control panel, lights, and sound system.
Final Touches: Attach the door handle and any other accessories.
Take your time and don't force any components. If something doesn't fit, double-check the instructions.
Commissioning: The First-Time Power-Up
You’ve built your sauna—congratulations! Now it's time for commissioning. This is a crucial step to burn off any residual manufacturing oils and ensure everything works correctly.
Initial Power-On: Plug in the sauna and turn it on. Set the temperature to its maximum setting (usually around 140-150°F or 60-65°C) and the timer for 60 minutes.
Ventilation: Leave the door and roof vent open during this first run. You may notice a slight odor as factory residues burn off. This is normal and will disappear.
System Check: While it's heating, test all the functions—the interior and exterior lights, the control panel, and the sound system.
Cool Down and Clean: After the cycle completes, turn off the sauna, unplug it, and let it cool down completely with the door open. Once cool, wipe down all interior surfaces (benches, walls, floor) with a damp cloth.
Your infrared sauna is now ready for its first real use!
Safety and Maintenance for Long-Term Enjoyment
Proper care will keep your sauna running beautifully for years. Home sauna maintenance is simple and doesn't require much time.
EMF Considerations
Electromagnetic fields (EMF) are a topic of discussion with any electrical appliance. Reputable sauna manufacturers design their heaters to produce extremely low levels of EMF, well within accepted safety standards. The International Commission on Non-Ionizing Radiation Protection (ICNIRP) provides guidelines on EMF exposure, and you can learn more about their work on their website. If this is a major concern, look for brands that specifically advertise and certify their low-EMF technology.
Routine Cleaning and Care
After Each Use: Place a towel on the bench and floor to absorb sweat. This simple habit dramatically reduces cleaning needs.
Regular Wiping: Once a week or as needed, wipe down the interior with a damp cloth. Never use harsh chemical cleaners, as the wood can absorb them and release fumes when heated.
Deep Cleaning: For a deeper clean, you can use a solution of water and a small amount of white vinegar. A very fine-grit sandpaper can be used to gently buff out any stubborn stains on the benches or floor.
The U.S. Department of Energy provides excellent general advice on maintaining home appliances to ensure they run efficiently and safely, which you can review on the Energy.gov site.
Your Journey to Wellness Starts Now
An infrared sauna is a fantastic investment in your health and well-being. By following these guidelines for your infrared sauna installation, you can ensure a safe, correct, and stress-free setup. From choosing the right spot to performing the first power-on, you are now equipped with the knowledge to do it right.
Now, all that's left is to sit back, relax, and enjoy the comforting warmth of your very own home sauna.


